
Perfectly Flaky Coconut Oil Pie Crust
By Elizabeth Ciobanu ·
This dairy-free pie crust is sure to become your go-to crust for everything from fruit pies to quiches or even meat pies.
The crust is perfectly flaky, the way a pie crust should be, without any of the toughness I usually find with an all-butter crust.
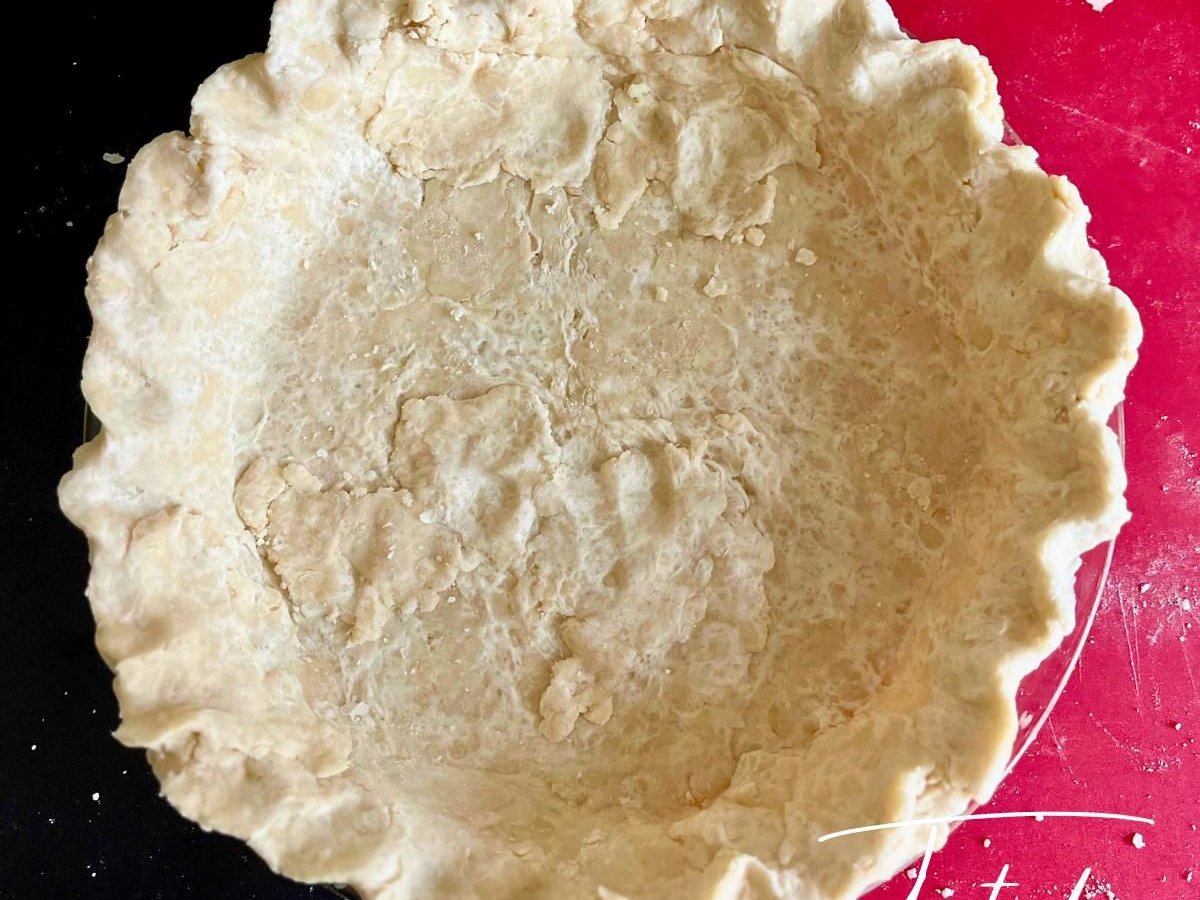
My one complaint with this crust is that it is very crumbly to work with, making it hard to get a neat, tidy final result. I usually have to do a little patching and fixing here and there to fill holes and gaps where the crust is trying to come apart. But even if it's not always beautiful, it is reliably delicious.
My kids commented on the coconut flavor, so it's definitely noticeable, but it's not overly strong. It blends into the background, even on something like a quiche where you wouldn't think of coconut being a complementary flavor. It goes perfectly well with pumpkin or apple pie!
- Prep
- 10 min
- Total
- 2 hr 10 min
- Makes
- 2 crusts
Ingredients
- 3 cups all-purpose flour
- 1 tablespoon granulated sugar (optional)
- 1 teaspoon salt
- 1 cup coconut oil, room temperature
- 6 tablespoons ice-cold water
Instructions
- Mix flour, salt, and sugar (if using) in a large bowl.
- Add room-temperature coconut oil. Use a pastry cutter or your fingers to thoroughly mix in the coconut oil until it is evenly distributed and looks like coarse crumbs (a few bigger lumps of coconut oil are fine).
- Add ice-cold water a few tablespoons at a time, stirring to evenly mix the water into the dough crumbles. If it is not starting to stick together, add up to 2 more tablespoons of water. Do not knead or over-mix.
- Evenly divide the dough into two equal-sized lumps, shape into disks, and cover with plastic wrap. Refrigerate for at least 2 hours, or up to 3 days.
- When you are ready to bake your pie (or blind-bake your crust), take the dough out of the refrigerator and place it on a well-floured surface. If it has been chilling for more than 2 hours, you may need to give it 10 minutes or so to warm up a bit before rolling out.
- Roll out the crust, stopping to rotate or flip after every few turns to prevent it from sticking on the counter surface, adding more flour as needed. Roll to about 12 inches in diameter for a 9-inch pie dish.
- Roll the crust around the rolling pin to lift it up to transfer to the pie dish. Unroll it over the dish, and press it gently into the bottom edges of the dish.
- If you're making a double-crusted pie, trim off the edges along the outer edge of the pie dish. For a single-crusted pie, tuck the extra back in under the pie dish and use your fingers or a fork to make a scalloped or crimped edge.